


Change Your Home Air Filter
Regular maintenance of your home heating, ventilation and air conditioning system (HVAC) is critical to ensure its long life and efficient operation. Proper maintenance of this system can help keep your loved ones safe from extreme temperatures —and may also help save you some money.
What Needs To Be Done:
The HVAC system heats your home during the cold winter months and keeps your home cool in the sweltering summer. Regularly changing the HVAC air filter is critical for its long life.
Why Do It?
The air filter keeps pollution and debris out of your HVAC system, ensuring proper and efficient operation. A dirty filter will slow down the air flow, making both the furnace work harder to heat your home and your AC work harder to cool it. This wastes energy and can result in higher energy bills.
How Often?
According to Energystar.gov, the filters on your home system likely need to be changed either once a month or once every three months, depending on the type you're using. You should check the product information on the filters for the manufacturer's suggested frequency of change.
Depending on where you live, the time of year, and how much you're using your AC or furnace, you may end up having to change your air filter more frequently. For instance, during a steamy summer when you're running your system constantly, you may end up having to change the filter more often than if the weather is nice and you're relying on open windows.
How to Do It:
Following these steps will make changing your air filter easy. But, always make sure to read your HVAC system's manufacturer instructions to ensure you understand how to properly change the filter.
Step 1. Buy a new filter.
Before you buy a new air filter, check your owner's manual to identify the right number or size (it should also be printed on the side of your existing air filter). You should be able to get a replacement filter at a hardware store, or some department stores sell them.
Step 2. Turn off the unit.
Be sure to turn off your HVAC unit before attempting to change the filter, for your own safety. If you can't figure out how to turn off the unit itself, you should turn off the breaker.
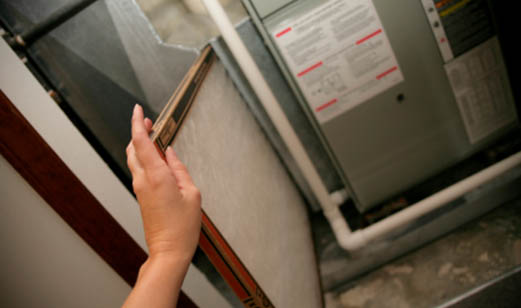
Step 3. Remove the old filter.
Most air filters are located on the right side of the unit. The filter should easily pull out of its slot in the furnace. It's not common, but sometimes filters are found in air vents in your home. If that is the case, you will likely need to contact a professional to change the filter.
Step 4. Insert new filter
Simply slide the new filter into place. There are arrows on the new filter to indicate which side should be facing the outside air.
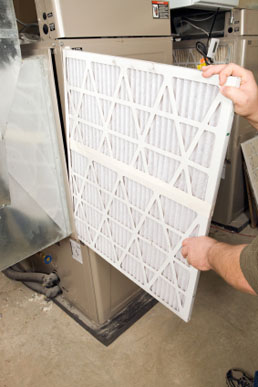
Remove the old air filter and slide the new filter into place.
Changing your HVAC air filter should be simple, but if you are unsure, you can always call a professional at Self Heating & Cooling!